
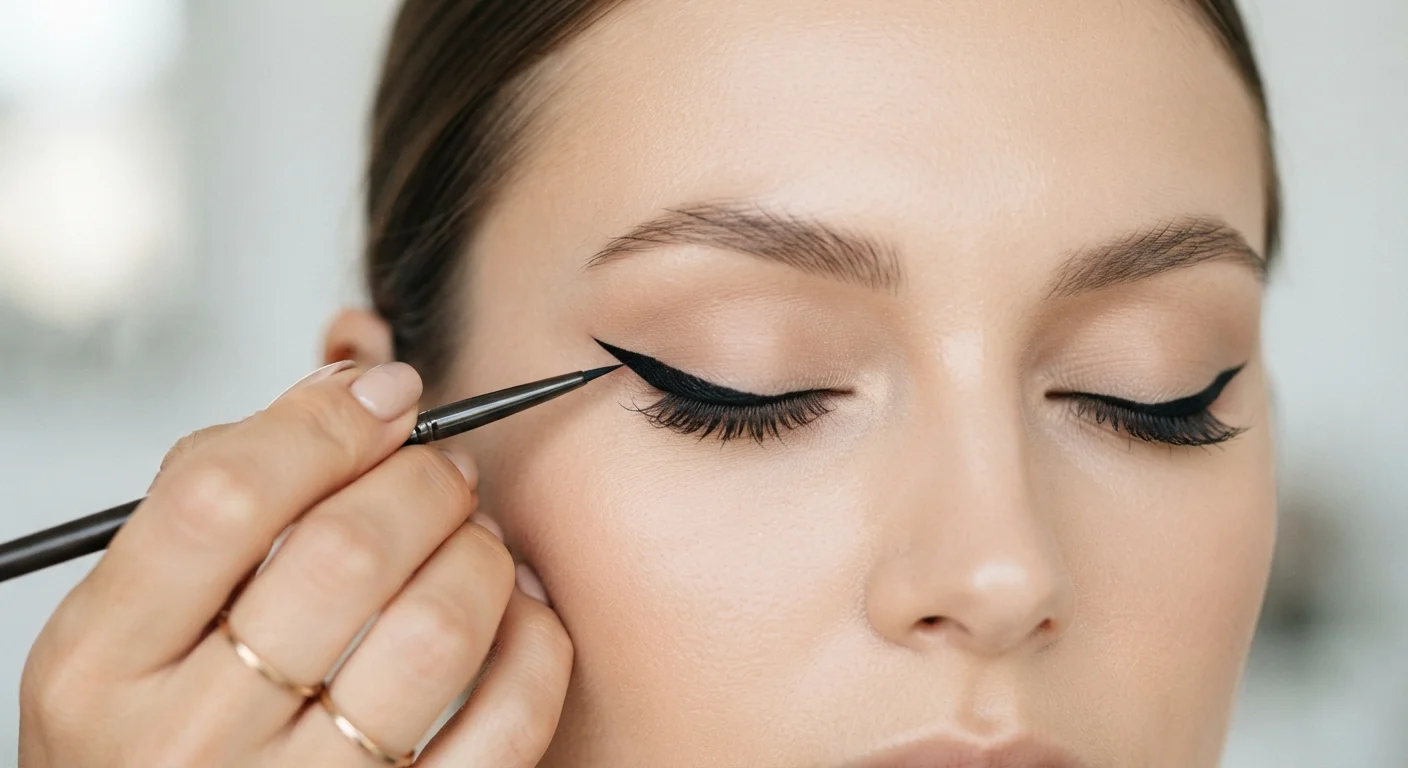
Why Eye Shape Changes Everything
A winged liner look that photographs beautifully on one person can feel awkward on another — and the difference usually comes down to eye shape, not skill. Before reaching for your liner, take a moment to identify your eye shape in a well-lit mirror.
- Almond eyes are symmetrically balanced with a visible crease, and they accommodate almost any wing angle.
- Hooded eyes have a fold of skin that sits over the crease; extending the wing slightly upward and outward (rather than following the natural lash line angle) keeps the flick visible when eyes are open.
- Monolid eyes have little to no visible crease, so a thicker, more dramatic wing tends to read more clearly.
- Downturned eyes point slightly downward at the outer corners; angling the wing upward counteracts that droop and adds lift.
- Round eyes benefit from a wing that extends outward and gently elongates the eye rather than dramatically curving upward.
Understanding your eye shape is the same principle as understanding face structure in techniques like contouring — see face shape and contouring basics for a deeper look at how anatomy guides application choices.
Choosing the Right Tool for Your Skill Level
The liner formula and applicator you choose will shape your experience as much as any technique. Here's a quick breakdown:
Felt-tip liner pen
Delivers consistent ink flow through a firm tip — easiest for beginners to control.
Gel pot liner with a thin angled brush
Gives experienced users the most precision and allows for both fine and bold lines.
Liquid liner with a flexible brush tip
Intense pigment payoff; the flexible bristles require a steadier hand but allow expressive strokes.
Low-tack tape or a business card
Used as a guide along the outer corner to create a clean, straight wing edge.
Micellar water and cotton swabs
Essential for correcting smudges and sharpening edges without disturbing surrounding makeup.
If you're still assembling your kit, our guide to every tool in a basic makeup kit explains applicators in plain language so you can make a confident choice.
What you will need
Step-by-Step: Drawing Your Wing
Follow these steps in order. Working tip-first may feel counterintuitive, but it's the method most makeup artists use to keep lines clean and angles consistent.
Prep Your Eyelid
Apply a thin layer of eye primer or a matte eyeshadow base to your lid. This creates a slightly grippy surface that helps liner stay put and reduces creasing throughout the day. Allow it to dry for 30 seconds before moving on.
Mark the Wing Tip First
Look straight ahead into your mirror. Using the outer edge of your lower lash line as a guide, imagine a diagonal line extending upward. Make a small dot or short dash at the point where you want the wing tip to land. Aim for somewhere between the end of your brow tail and the outer corner of your eye — shorter for daytime, longer for drama.
Draw the Upper Edge of the Wing
From the dot you made, draw a straight or gently curved line back toward the outer corner of your upper lash line. This creates the top edge of the wing triangle. Keep your elbow resting on a flat surface and move your hand in one fluid stroke rather than short, scratchy marks.
Close the Triangle
Draw a line from the tip back down to meet the lash line, closing off the pointed triangle shape of the wing. Fill in the hollow triangle with your liner. At this stage, precision matters less than getting the overall shape — you'll refine it in the next step.
Line the Lash Line Inward
Starting from where the wing meets the lash line, draw a line along your upper lashes toward the inner corner of your eye. You can go all the way to the inner corner for a bold look, or stop two-thirds of the way in for something softer and more open. Keep the line as close to the roots of your lashes as possible.
Refine and Check Both Eyes
Hold your mirror at arm's length and compare both eyes. Wings rarely match perfectly on the first pass — use concealer on a fine brush or a cotton swab with remover to adjust the angle, thickness, or length of either side until they feel balanced. Remember: they are sisters, not twins, and slight variation is normal.
Build Speed Through Daily Practice
Winged liner improves dramatically with repetition. Even practicing on the back of your hand to get a feel for your liner's flow and your hand's natural angle can translate to faster, cleaner application on your eyes. Many people find consistency arrives within two to three weeks of regular attempts.
Fixing Mistakes Without Starting Over
Smudges and wobbles are part of the process, not signs of failure. A few quick fixes can save the whole look:
- Cotton swab + micellar water or makeup remover: The most precise eraser you have. Roll — don't rub — the tip along the edge to sharpen lines.
- Concealer on a fine brush: Apply along the bottom edge of the wing to clean up jagged lines and redefine the shape.
- The tape method: Place a small piece of low-tack tape at an upward angle from the outer corner before drawing; peel it off slowly when done for a razor-sharp edge.
Avoid Applying Remover Directly to the Eye Area
Always apply makeup remover to a cotton swab or pad first — never directly to your eyelid skin. Dragging a soaked swab across delicate eye tissue can cause irritation, especially with oil-based formulas. If you experience stinging or redness, stop and rinse the area with clean water.
As your routine evolves beyond liner, building a minimal everyday makeup routine is a great next step if you're figuring out how winged liner fits into your broader look.