Why Introductions So Often Go Wrong
Most inter-animal conflicts in multi-pet households don't stem from fundamental incompatibility — they result from introductions that moved too fast. Animals communicate anxiety and territorial discomfort primarily through subtle postural cues that owners frequently misread or miss entirely. A dog's excited interest in a new cat, for example, can register as predatory threat to the cat, creating a fear response that can calcify into lasting aggression if it isn't managed from the start.
The phased protocol outlined in this guide draws on established principles from applied animal behavior: habituation (gradual, non-threatening exposure), counter-conditioning (pairing the other animal's presence with positive outcomes), and systematic desensitization (progressing only when the animal shows calm responses at each stage). These aren't complicated concepts, but they require patience and a willingness to let the animals — not a timeline — drive the pace.
Common mistakes include allowing unsupervised access too early, underestimating a small animal's vulnerability during dog or cat introductions, and missing early stress signals that indicate the introduction needs to slow down. Our article on what new pet owners often get wrong in the first year covers related early missteps in broader context.
Never Force a Face-to-Face First Meeting
Placing unfamiliar animals together without prior scent and barrier introduction dramatically increases the risk of fear-based aggression and lasting territorial conflict. Once a severe altercation occurs, it becomes significantly harder to rehabilitate the relationship. Follow the phased protocol below in full, even if your resident pet appears friendly — the new animal needs time to feel safe regardless.
What You'll Need Before You Begin
Successful introductions depend on having the right setup in place before the new animal crosses your threshold. Improvising on arrival day increases stress for every animal in the household — including you.
What you will need
Baby gate or exercise pen
Creates a visual and physical barrier that allows animals to observe and smell each other safely during early introduction stages.
Separate feeding bowls and water dishes
Eliminates resource competition during mealtimes, which is a common trigger for inter-animal conflict.
Scent-swap cloths (clean soft cloths or old T-shirts)
Used to transfer each animal's scent to the other's space, enabling scent familiarization before visual contact.
High-value treats
Reward calm, relaxed behavior in the presence of the other animal's scent or sight, building positive associations.
Calming pheromone diffuser (species-appropriate)
Synthetic analogs of natural calming pheromones can reduce ambient stress for cats and dogs during the adjustment period.
Secure carrier or crate
Provides a safe retreat for the new animal during supervised visual introductions and helps manage movement.
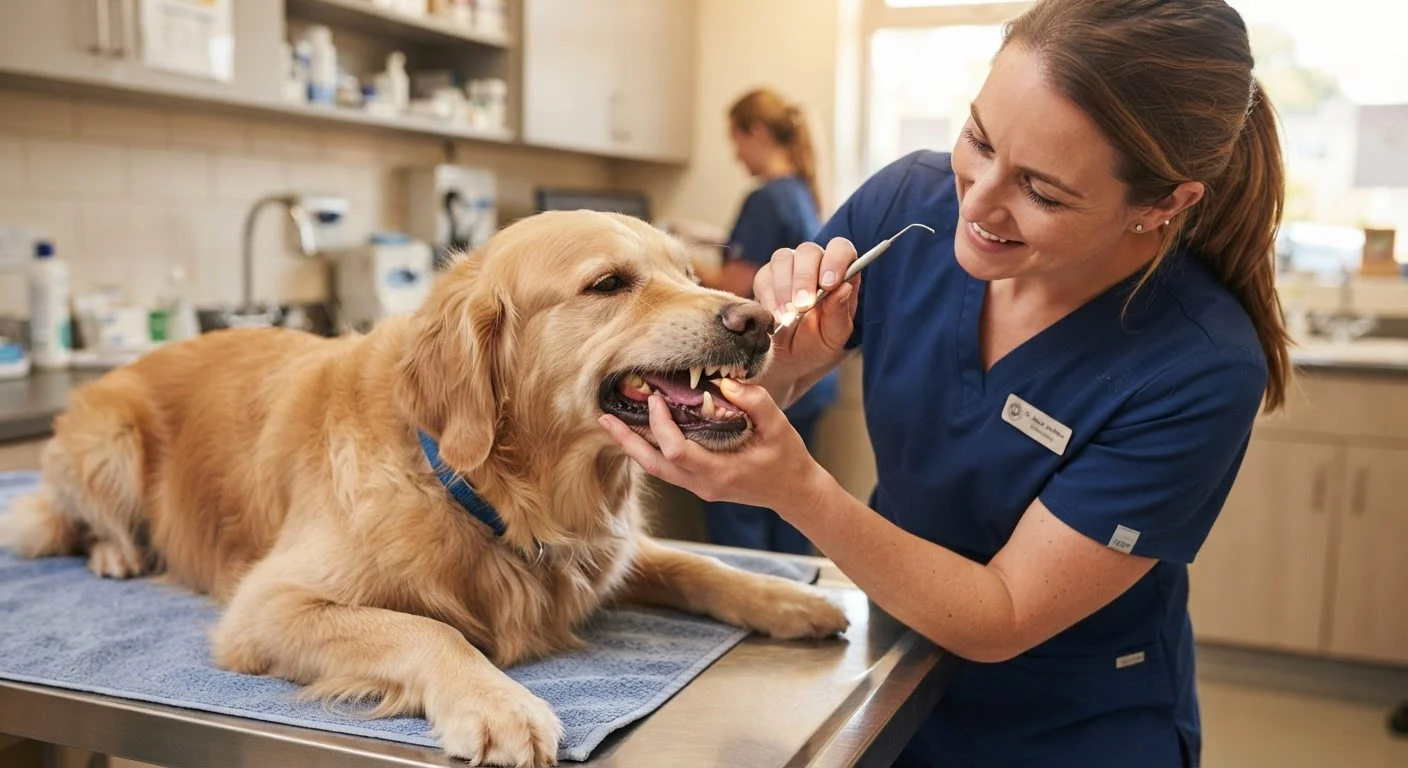
If your new or resident animal shows pronounced anxiety responses during the process, consult your veterinarian. Anxiety during vet visits can signal baseline stress levels worth addressing before introducing additional household changes. See our guidance on preparing anxious pets for vet visits for related strategies.
The Introduction Protocol: Step by Step
Work through the following steps in sequence. Do not skip or compress stages based on how friendly your resident animal appears — the new animal's adjustment curve is equally important. Most households complete a full, low-conflict integration within two to four weeks when the protocol is followed consistently.
Prepare a Dedicated Space for the New Animal
Before the new pet arrives, set up a separate room — ideally one your resident animal does not consider core territory. Equip it with water, species-appropriate food, bedding, hiding spots, and a litter box or substrate as needed. Close the door completely so resident animals cannot enter. This space serves as the newcomer's safe zone for the entire first week and is non-negotiable regardless of species.
For more on feeding basics for a newly arrived animal, see our nutrition primer for new owners.
Begin Scent Swapping on Day One
Take a clean soft cloth and gently wipe it along the new animal's face and flanks, then place it under your resident pet's food bowl or near their resting area. Repeat with a cloth carrying the resident animal's scent and place it in the newcomer's space. Do this once or twice daily. Watch both animals' reactions: sniffing with a relaxed body and then moving away is a green light. Stiff posturing, prolonged fixation, or vocalizations toward the cloth warrant more time at this stage before progressing.
Introduce Scent Under the Door
Once both animals show calm responses to the swap cloths — typically after two to four days — allow them to investigate each other's scent under the door gap. You may hear sniffing, pawing at the base of the door, or brief vocalizations. These are normal exploratory behaviors. Feed both animals near the door on opposite sides simultaneously: the proximity to the food and the mealtime positive association begin building a favorable emotional response to the other animal's presence without visual contact.
Move to Barrier Visual Introductions
Replace the closed door with a baby gate, stacked gates, or a cracked door secured with a doorstop — any barrier that allows clear visual contact while preventing physical access. Keep initial sessions to five to ten minutes. Have a second person present if possible so each animal has a dedicated handler. Reward calm, relaxed observation with treats. Do not force either animal to approach the barrier; let them investigate at their own comfort level. Run two to three brief sessions per day before progressing.
Conduct Supervised Shared-Space Sessions
Only after both animals display consistent relaxed body language at the barrier — no growling, hissing, stalking, or stiff posturing — move to brief shared-space time. Keep dogs on a leash or long line. Ensure cats and small animals have clearly accessible high perches or escape routes at all times. Keep sessions under 15 minutes initially, ending on a calm note before any tension escalates. Gradually extend duration over several days as both animals demonstrate comfort.
Building predictable daily routines around feeding and rest periods significantly supports long-term inter-animal harmony. Our guide on building a consistent routine covers this in depth.
[tip_callout]Establish Permanent Separate Resources
Even after successful integration, maintain separate food stations, water bowls, and resting areas for each animal. In households with cats, follow the general guideline of one litter box per cat plus one extra. Resource competition — not personality incompatibility — is the most common driver of ongoing inter-animal tension after introduction. Continue monitoring body language during mealtimes and play for the first several weeks, and keep retreat spaces accessible so no animal ever feels trapped.
Watch for Escalating Stress Signals
Prolonged freezing, piloerection (raised hackles or fur), hissing, growling, or stalking behavior during barrier introductions are signs to slow down — not push through. Separate the animals immediately and allow at least 24 hours before the next session. Consult a certified applied animal behaviorist if aggression escalates despite following the protocol.
For guidance on marker-based training that can support calm behavior during introduction sessions, see our comparison of clicker training vs. verbal markers.
Species-Specific Adjustments Worth Knowing
Dog–Cat Introductions
Keep the dog on leash or behind a gate for all visual introductions and ensure the cat always has vertical escape routes (shelves, cat trees, counters) accessible. Never restrain the cat — allowing flight is essential for preventing panic-driven defensive aggression.
Cat–Cat Introductions
Cats are especially sensitive to territorial disruption. Scent swapping and barrier phases often need to be extended to five to seven days each. Pheromone diffusers can help reduce ambient tension but are not a substitute for the full protocol.
Dog or Cat With a Small Animal (Rabbit, Guinea Pig, Bird)
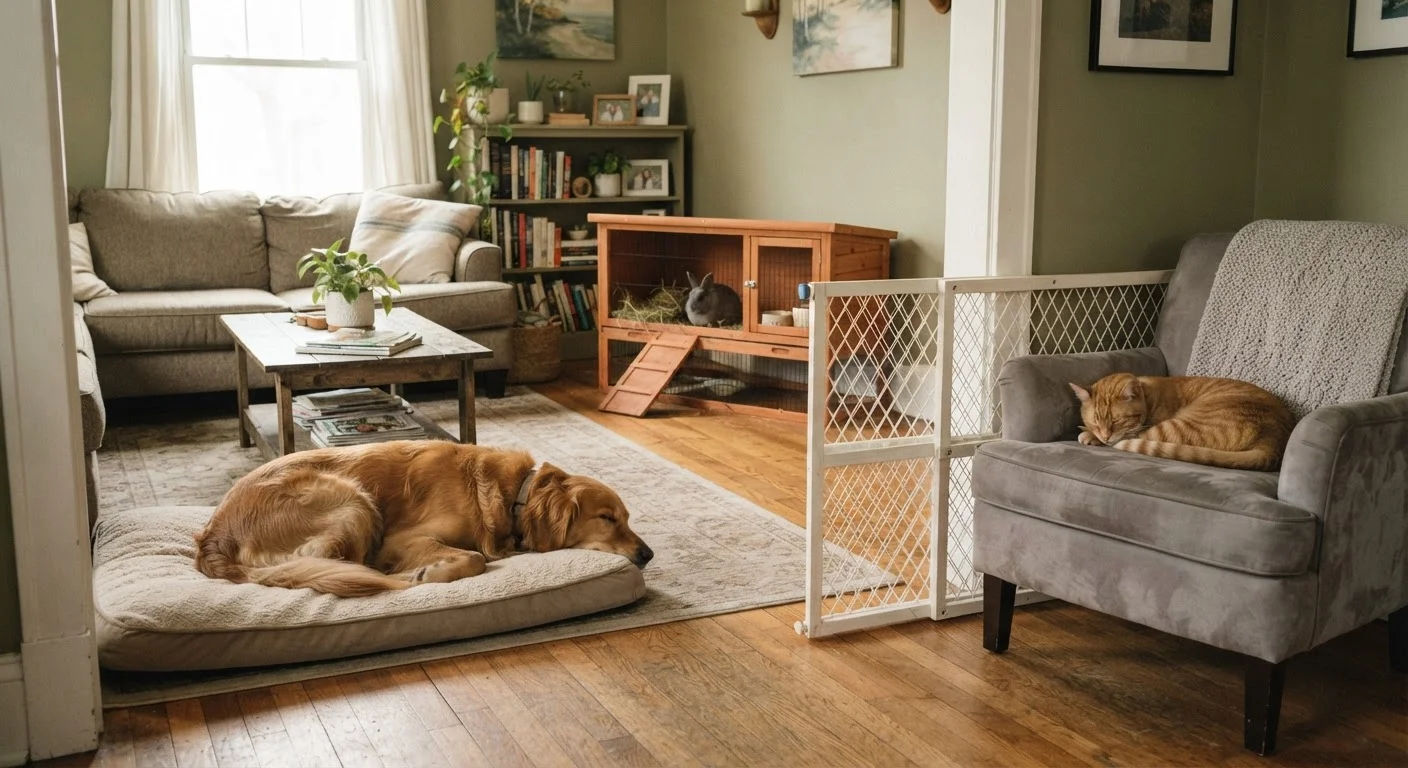
Small animals must always have a secure, escape-proof enclosure during any introduction phase. Shared free-roam time between a small prey animal and a dog or cat is not appropriate unless an animal behaviorist has assessed the specific animals involved. Even animals that appear calm around small pets can respond to sudden movement with predatory instinct. Permanent supervision and physical separation when unattended remain the safest standard practice.
This article provides general behavioral guidance for informational purposes only. For animals showing persistent aggression, significant fear responses, or any signs of injury following introductions, consult a licensed veterinarian or certified applied animal behaviorist.