
Why Most Decluttering Efforts Don't Stick
Most people have decluttered at least once and watched the clutter return within a few months. The problem is rarely willpower - it's method. Clearing a space without a decision framework means every item gets evaluated emotionally in the moment, which leads to either over-keeping (everything feels potentially useful) or over-discarding (a fast sweep that leaves regret). Neither produces a lasting result.
This framework treats decluttering as a series of structured decisions, not a mood-driven purge. It works because it separates the evaluation step from the physical sorting step, and because it builds in safeguards against the two most common failure modes: quitting early from overwhelm, and regretting fast decisions later.
Don't Start With Sentimental Items
Items with emotional weight - photos, gifts, inherited objects - require the most mental energy to evaluate. Starting with them is one of the most common reasons people abandon a declutter mid-way. Begin with low-stakes categories like expired pantry goods or duplicate tools, and work up to meaningful belongings only after you've built confidence and momentum.
The goal isn't a minimalist home - it's a home where the things you own are things you actually use and can find. That's a different, more realistic standard, and it's one that's much easier to maintain. For related mental clarity benefits that complement physical organization, some readers find that structured reflection practices - like those described in journaling for emotional clarity - help process the attachment side of letting go.
What you will need
What You'll Need Before You Start
Sorting Containers (boxes or bags)
Physically separating items into Keep, Donate, Discard, and Maybe categories as you work through each room.
Masking Tape and Marker
Labeling containers clearly so sorted items don't get mixed back together between sessions.
Camera or Phone
Photographing sentimental items you're letting go of, so you preserve the memory without keeping the object.
Inventory Notepad
Tracking what you discard so you can identify patterns and avoid re-buying the same clutter later.
Having your supplies ready before you open a single drawer prevents the stop-and-start cycle that derails most sessions. Equally important: set a realistic scope before you begin. Committing to one room - or even one category within a room - per session is more effective than an ambitious whole-home plan that collapses by afternoon.
If you're also using this process as a lead-in to rebuilding your wardrobe, keep in mind that decluttering your closet first gives you a clear picture of what you actually own before adding anything new. See our guide to building a wardrobe from scratch for a practical sequencing approach.
The Room-by-Room Process
Follow the steps below in order. The sequence matters - particularly the rule that storage decisions come after you've settled your Keep pile, not before.
Set up your sorting system before touching anything
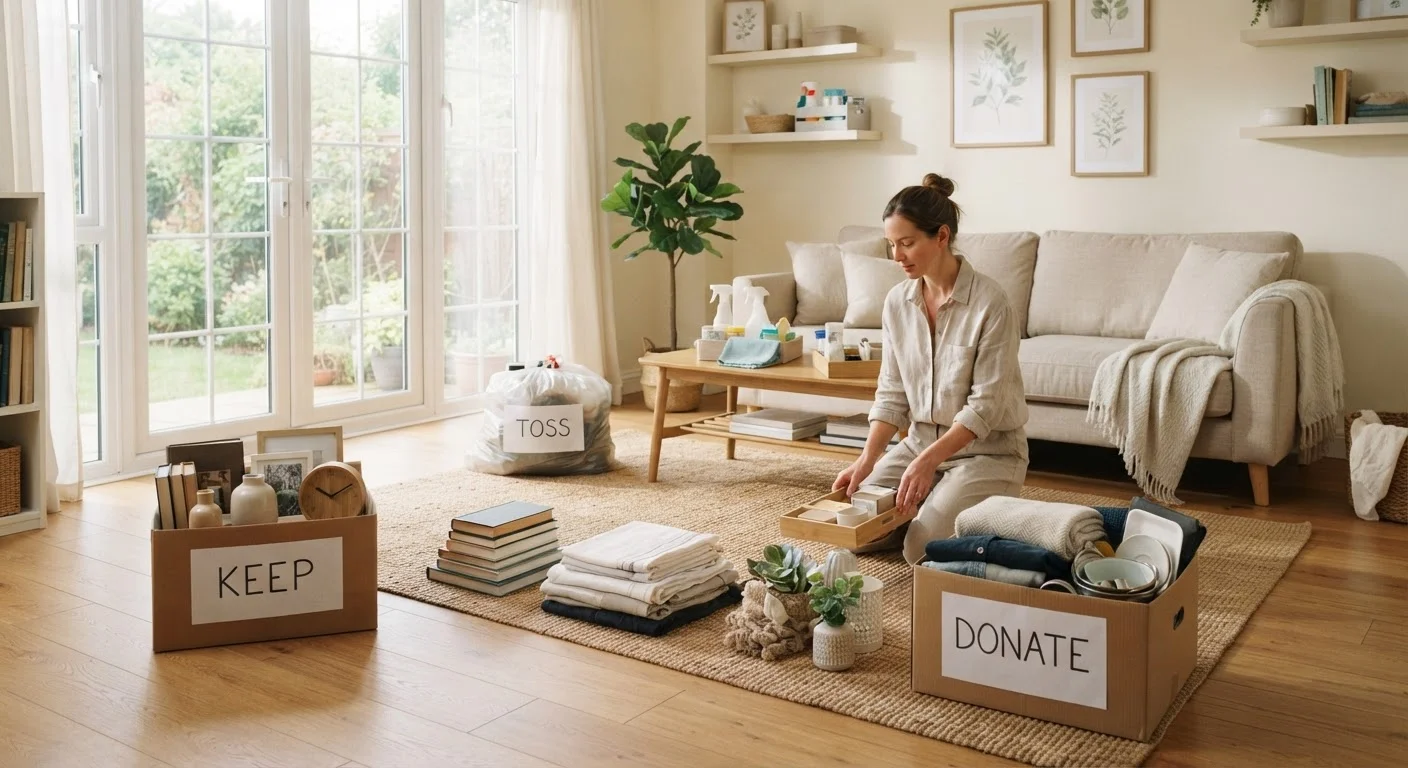
Label four containers clearly: Keep, Donate, Discard, and Maybe. Place them in the room you're starting with. Having a physical destination for every item removes the paralysis of mid-decision hovering. Confirm your donation drop-off location is open and accessible - having no plan for the donate pile is how bags pile up in hallways for months.
Work by category within the room, not by location
Rather than clearing one shelf and then another, pull all similar items together first - all books in one place, all cords in another, all cleaning supplies together. This reveals duplication immediately and makes comparisons easier. Sorting shelf by shelf tends to hide just how many of the same item you own across different spots.
Apply the three-question test to each item
For every item, ask: (1) Have I used this in the past 12 months? (2) Would I buy it again today? (3) Does replacing it later cost more than keeping it now? An honest 'no' to the first two questions - and a 'no' to the third - is a reliable signal to let the item go. Items that pass only because of guilt, obligation, or vague future intention belong in the Maybe box, not the Keep pile.
Handle the Maybe box with a firm deadline
Seal your Maybe box and write today's date on it. Set a reminder on your phone for 60 days out. If you retrieve something from the box before the deadline, it goes back into Keep permanently. If the deadline arrives and the box is still sealed, move it directly to Donate or Discard without reopening it. Opening it again restarts the decision loop.
Address storage only after the Keep pile is final
Once you know what you're keeping in a given room, assess whether your current storage is actually suited to those items - not just whether it's full. Ill-fitting storage is often why clutter returns quickly. If you're evaluating new storage options, consider the long-term cost of cheap storage before making purchases - low-cost bins and shelving frequently lead to a replacement cycle that costs more overall.
Move donation and discard items out immediately
Don't let filled bags sit. Schedule the drop-off or trash pickup for within 48 hours of finishing each room. The longer sorted items stay in your home, the higher the chance of second-guessing yourself or others in your household retrieving items. For items that can't be donated (broken, worn out), check whether your municipality has specific bulk waste or recycling pickup options before defaulting to landfill.
Use a 'Maybe Box' to Buy Yourself Time
For items you genuinely can't decide on, place them in a sealed box with today's date. If you haven't opened it in 60 days, you likely don't need what's inside. This removes the pressure of an in-the-moment decision and almost always leads to a clearer outcome than forcing a choice right away.
Once you've worked through each room, use a simple maintenance habit to prevent re-accumulation: a monthly five-minute scan of any high-clutter zone (kitchen counters, entryway surfaces, bathroom cabinets) to catch drift before it becomes a project again. Pair this with your seasonal home maintenance checklist so decluttering stays part of your regular home routine rather than a separate annual event.
Avoid the 'One Big Purge' Trap
Trying to declutter an entire home in a single weekend often results in hasty decisions and post-purge regret. Spreading the process across several sessions - by room or category - preserves your judgment and reduces the chance of discarding things you'll need to replace. A slower pace also gives you time to identify proper donation or disposal channels rather than sending everything to landfill.